
How to Repair & Refinish Your Deck
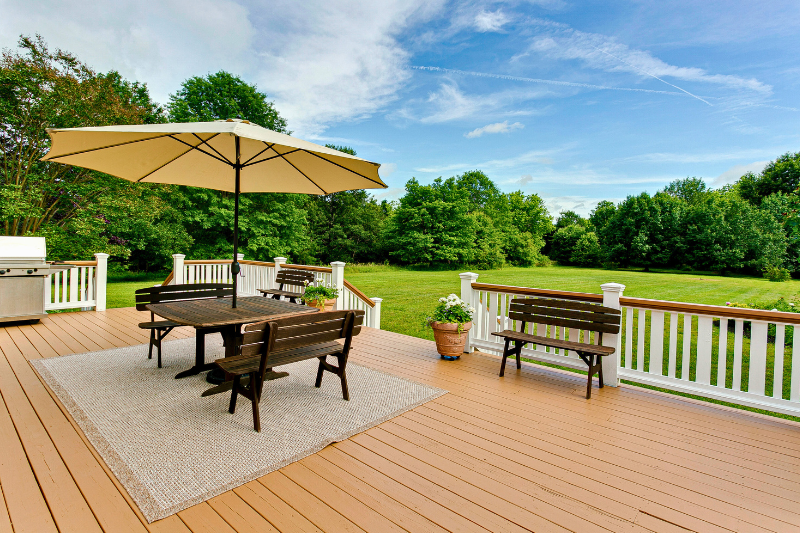
A deck is more than just an outdoor space; it’s a place to unwind, connect, and make lasting memories. But over time, exposure to the elements can leave your deck looking weathered and worn. Regular maintenance is essential to keep it safe, durable, and beautiful. Refinishing your deck is the perfect way to restore its charm and protect it from further damage.
Whether you’re a seasoned DIYer or this is your first project, our step-by-step guide will walk you through everything you need to know to make your deck look good as new. We’ll also show you how top-quality sealants and wood fillers from DAP are essential for creating a durable and beautiful finish.
Common Signs Your Deck Needs Refinishing
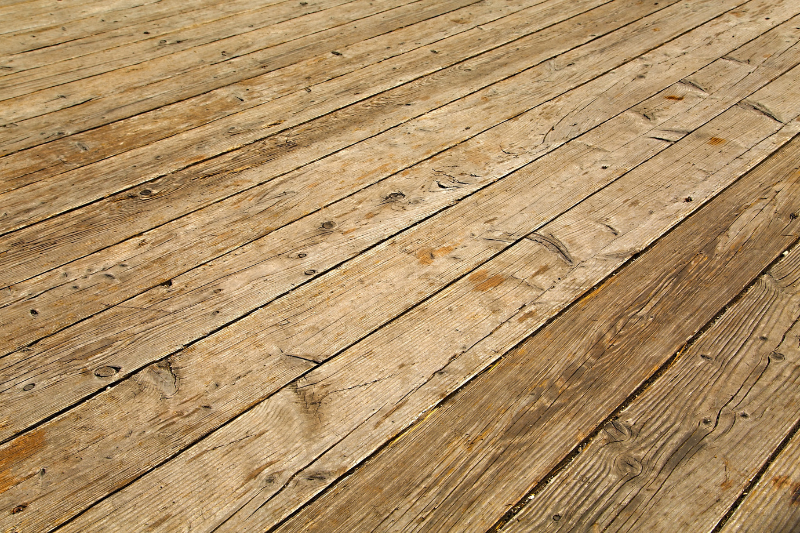
Wondering whether it’s time to give your deck some TLC? Here are the telltale signs that your deck could use refinishing:
- Discolouration: Greying or fading wood is often a result of prolonged sun exposure.
- Splintering Wood: Splitting boards are not only unsightly but also a safety hazard.
- Peeling Stain or Paint: Flaking coatings expose your deck to moisture, leading to rot or mould.
- Water Absorption: Pour a small amount of water on your deck. If it doesn’t bead up but soaks in, your deck needs sealing or staining.
Why Refinishing Matters
Refinishing your deck isn’t just about aesthetic appeal; it also helps to protect and preserve it.
- Extended Life: Proper refinishing shields your deck from rot, moisture, and UV rays.
- Improved Safety: Repairing cracks and splinters makes the surface safer and more enjoyable to walk on.
- Aesthetic Boost: Refinishing brings back the natural beauty of the wood or lets you create vibrant new designs with stains and paints.
Choosing the Best Coating for Your Deck
A key part of the refinishing process is choosing the right coating for your goals. Here’s a handy breakdown to help you decide:
Stains
Wood stains penetrate the surface, highlighting the unique grain patterns and textures of your deck. Whether you prefer a natural, semi-transparent finish or a rich and vibrant opaque colour, stains allow you to customize your deck's look while maintaining an elegant, polished appearance.
Stains repel moisture to prevent swelling, warping, and rot, while UV-resistant properties shield the wood from fading, drying, and cracking.
Paints
Paint forms a tough outer layer over the wood, shielding it from external damage. Unlike stains, which penetrate the surface, paint sits on top, creating an all-encompassing layer that prevents moisture, dirt, and debris from getting into the wood. This barrier acts like a raincoat, keeping your deck safe from the wear and tear of daily exposure to the elements.
Paint offers versatile colour options and requires less frequent upkeep, with straightforward touch-ups to restore protection and appearance.
Sealants
Wood sealants protect your deck by penetrating the surface to repel moisture and prevent rot or decay. With their clear or lightly tinted finish, they preserve the wood's natural colour and grain, offering an ideal solution for those who want protection without altering the deck's appearance. Sealants can also be used on top of stains to enhance protection.
Prepping Your Deck Before Refinishing
Preparation is the most critical step to achieving a professional-grade finish.
The Role of Wood Lighteners
Wood lighteners clean and brighten the surface while opening wood pores for deeper stain absorption. They also neutralize the pH altered by harsh cleaners or strippers. Recommended products often contain oxalic acid to remove discolouration from tannin bleed, rust, and weathering.
Using Caulk to Fill Cracks
Caulk may not be the first solution that comes to mind for repairing cracks in deck boards, but it is a great option. Cracks occur when wood absorbs water, causing it to swell and then shrink over time due to exposure to rain, humidity, and temperature changes. Sealants offer a durable and flexible repair that moves with the wood while remaining strong against the elements. Products like DYNAFLEX ULTRA or DYNAFLEX 230 are ideal for this purpose, providing advanced flexibility and a variety of colours for a seamless, professional finish.
Repairing Damage with Wood Fillers
Deeper gouges and knot fall-out can happen over time, thanks to weather, wear, or the wood's natural imperfections. These flaws can disrupt the deck's appearance and feel, but a wood filler like WOODPRO or DAP Premium Wood Filler offers an easy solution. Unlike sealants, these products are stainable, making them a go-to for larger repairs that need to blend seamlessly.
Pro Tip: Mix your stain directly into the Premium Wood Filler for an easy, invisible repair!
Step-by-Step Guide to Refinishing Your Deck
Tools and Materials You'll Need
- Power washer (with a fan tip nozzle recommended)
- Deck cleaner or wood stripper
- Long-handled stiff-bristled scrub brush
- Wood brightener
- Sandpaper (60-80 grit for surfaces, finer grit for railings)
- Recommended: palm sander, pole sander
- All-weather sealants and wood filler
- Putty knife
- Foam applicators and brushes
- Paint or stain, optional sealant (we recommend Rust-Oleum’s RockSolid deck products)
- Protective gear: gloves, mask, goggles
- Painter's tape and plastic sheets for protecting surrounding areas
1. Inspect & Protect
- Inspect your deck for loose nails, screws, or damaged boards, and secure or replace them as needed.
- Wear gloves and safety glasses while handling damaged materials to protect yourself.
- Cover nearby plants and surfaces with plastic sheeting to shield them from debris and chemicals, preventing damage and keeping your outdoor space clean.

2. Blast the Grime
- Use a power washer with a fan-tipped nozzle and a pressure setting of 500-600 PSI to remove dirt and debris without damaging the wood.
- Move evenly across the surface, paying extra attention around knots to avoid causing damage.
- If you don’t have a power washer, a garden hose with a high-pressure nozzle can work as an alternative.
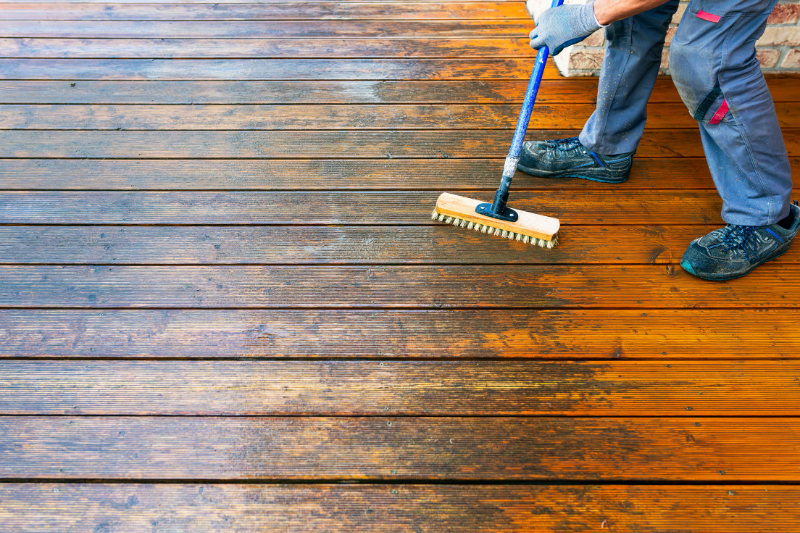
3. Scrub It Clean
- Apply a cleaner for new wood or a stripper for previously stained or painted wood, following the product instructions.
- These products are designed to break down dirt, mildew, and stains, but they need a little elbow grease to work their magic. Use a long-handled stiff-bristle brush to agitate the cleaner and lift grime from the wood’s crevices.
- Work in small sections to prevent the cleaner from drying out before you scrub and rinse.
- Once done, rinse thoroughly to remove all residue.
4. Brighten & Neutralize
- Apply a wood brightener according to the manufacturer’s instructions. This step is essential for neutralizing the cleaner or stripper and restoring the wood’s natural pH balance, ensuring the stain adheres evenly.
- Don’t skip this—it’s the final touch to your cleaning process that sets the stage for a flawless finish.
5. Fill Large Dents or Knots
- For larger dents or knot fall-out, use a stainable wood filler to ensure repairs blend seamlessly with the final finish.
- Use a putty knife to press and smooth the filler into the damaged areas and allow it to dry completely before moving on to sanding.
6. Smooth It Out
- Sand splintered or rough areas using 60-80 grit sandpaper to create a smooth surface and ensure the stain adheres properly.
- For railings, a palm sander works best to navigate smaller spaces, while a sanding pole is ideal for underfoot areas to save your knees and back.
- Always sand along the grain of the wood to avoid scratches that could show through the stain.
7. Seal Cracks with Caulk
- Apply an exterior-grade caulk to any longer cracks in the deck boards. Use a smoothing tool and a damp cloth to remove any excess, as it will be difficult to smooth after the caulk cures.
- Allow the caulk to cure completely before moving on to staining or painting to ensure a durable and seamless finish.
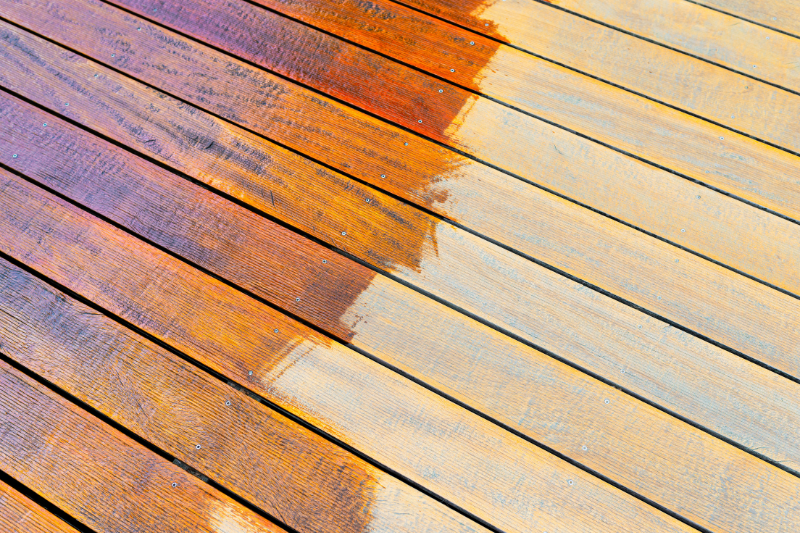
8. Finish with Stain or Paint
- Finally, it’s time to stain or paint the wood. Start by thoroughly sweeping the deck to clear away any debris that could interfere with the finish.
- Be sure to follow the product instructions closely—some may recommend misting the deck with water on particularly warm days to cool the surface before application. Many two-coat stains require a wet-on-wet application, so check the guidelines to ensure a flawless result.
- Use brushes for vertical surfaces and foam applicators for flat areas to ensure even coverage.
- Choose a day with mild temperatures and low humidity for the best results and allow the stain or paint to dry completely before using the deck—typically 24-48 hours, depending on the product.
Check out this fantastic instructional video by Aprons & Overalls! While we're not affiliated with him or the Restore-A-Deck products he uses, we can’t recommend his clear, detailed guidance enough!

Make the Most of Your Outdoor Space
Repairing and refinishing your deck is one of the most rewarding summer home projects. It’s a chance to transform your outdoor space into a beautiful, functional area where you can sip your morning coffee, host family BBQs, and make lasting memories.
Now it’s time to get started! Share your incredible deck transformations on social media using #DIYwithDAP or drop your questions in the comments—we’d love to hear all about your deck adventures!